

 VIII

Pages
Your home page, privacy policy, terms, and pages such as About.
This page shows you how to edit the pages of your blog that aren't articles: the home page, the privacy policy and terms, and pages you add yourself, such as About.
Pages are for content that doesn't belong in your article feed. They don't have a category, and they don't appear in the article list.
Go to Blog → Pages to see a blog's pages. If you have more than one blog, each blog has its own tab. You can also open the menu on a blog's row in Blog → Blogs and click Pages, or click the Pages tile on the blog's overview. Blog overview, next to the title, takes you back to that overview.
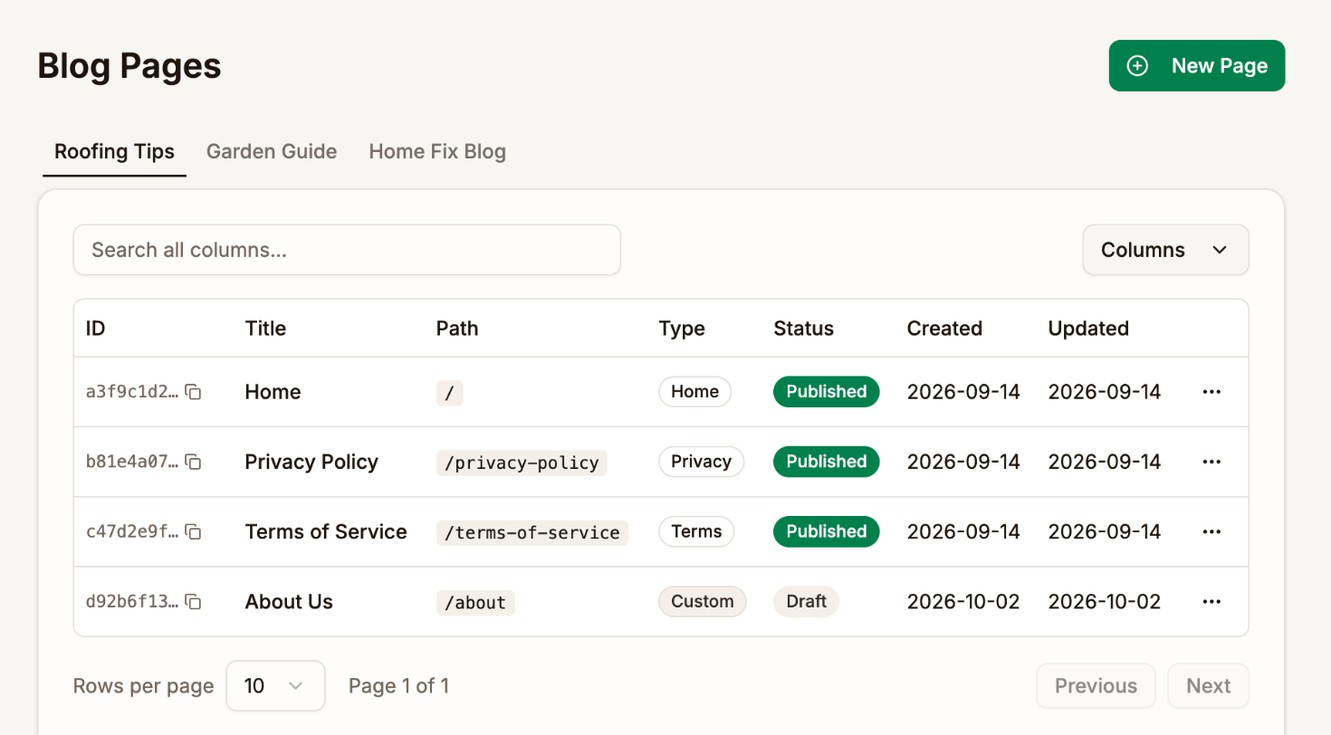
| Column | What it shows |
|---|---|
| Path | The page's address on your blog, such as /about |
| Type | Home, Privacy, or Terms for the pages every blog starts with. Custom for pages you add. |
| Status | Draft or Published. A page scheduled for a future date also shows as Published. |
Open the menu on a page's row for Edit, View Page, and, for custom pages, Delete.
The page editor
Click Edit on a page, or New Page at the top of the list, to open the page editor. It works like the article editor: the same toolbar, Write and Preview tabs, and Markdown. See Articles.
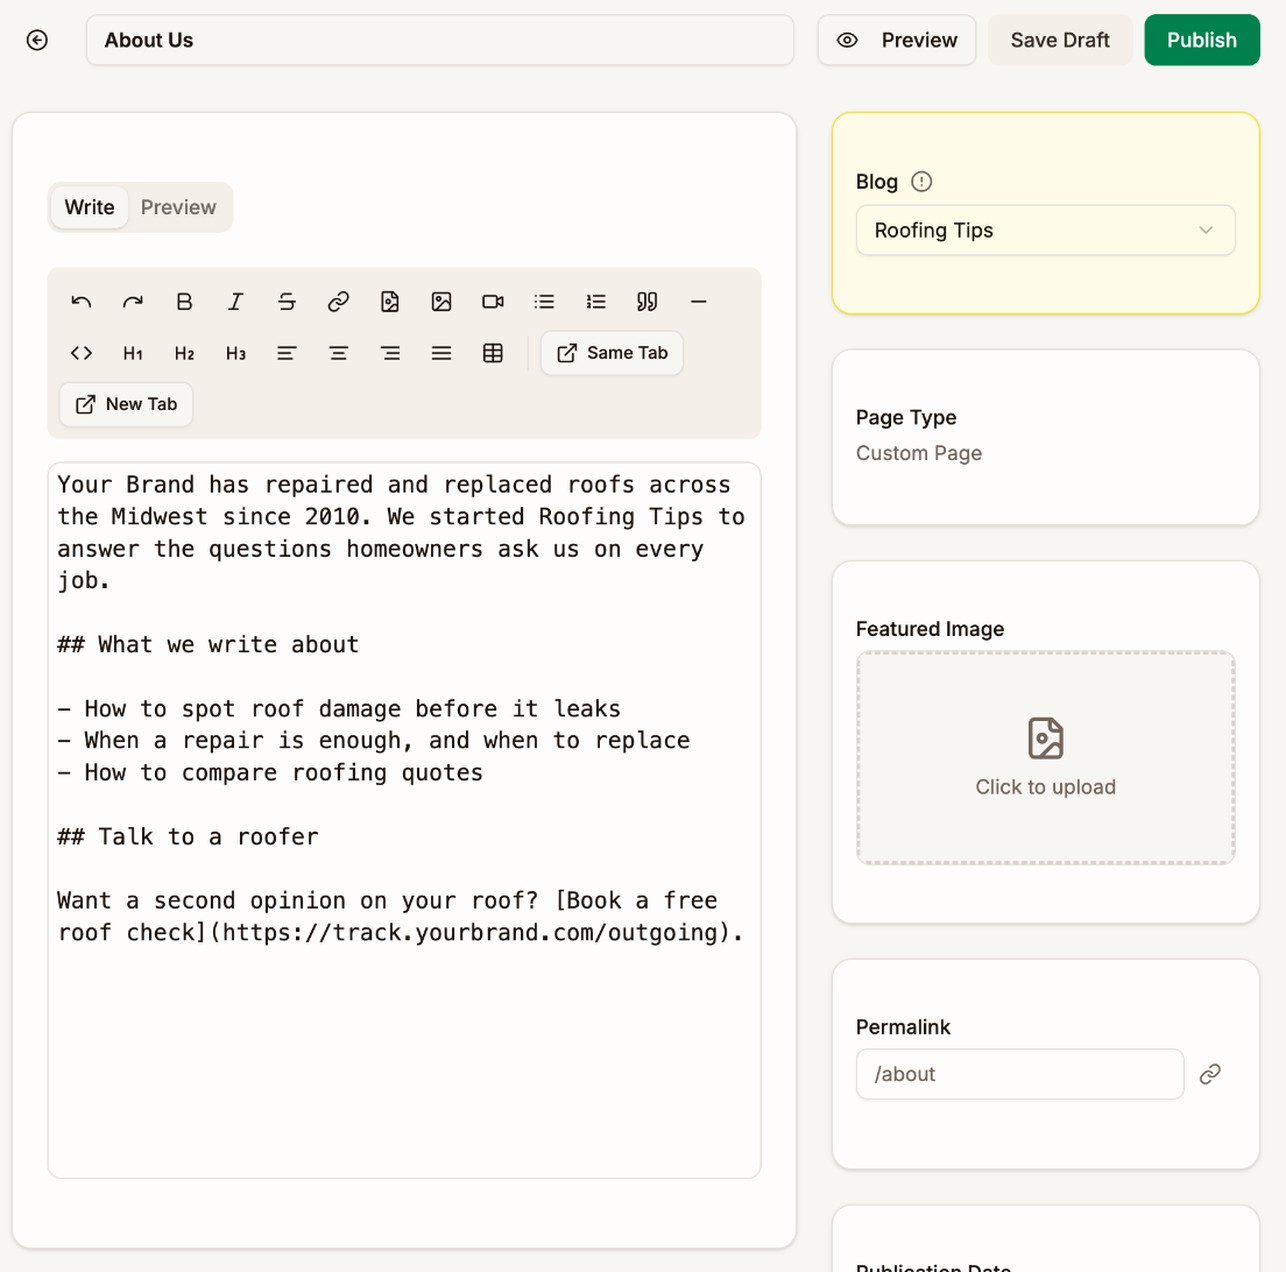
The page's settings are in the right-hand column.
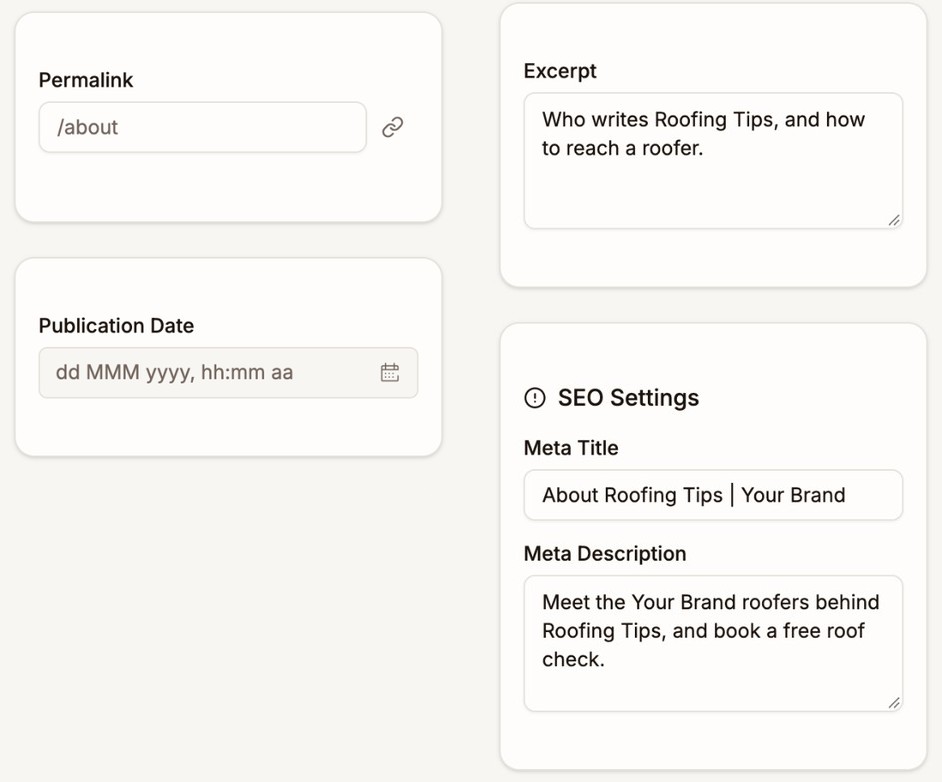
| Setting | What it does |
|---|---|
| Blog | The blog the page belongs to. Shown only if you have more than one blog. You can't move a page to another blog later. |
| Page Type | Whether this is the Home page, a policy page, or a Custom Page |
| Layout | Custom pages only. Standard shows the page title, date, and blog name above your content. Blank shows only your content. See Choose a layout. |
| Featured Image | The picture at the top of a custom page, also shown when the page is shared. With the Blank layout it's only used when the page is shared. |
| Permalink | The page's address, such as /about. You can't change it for Home, Privacy Policy, or Terms of Service. |
| Publication Date | The date shown on the page. A future date schedules it. |
| Excerpt | A short summary. Search engines show it, unless you write a Meta Description. |
| Meta Title, Meta Description | The title and description search engines show for the page. The Meta Title copies the page title until you change it. |
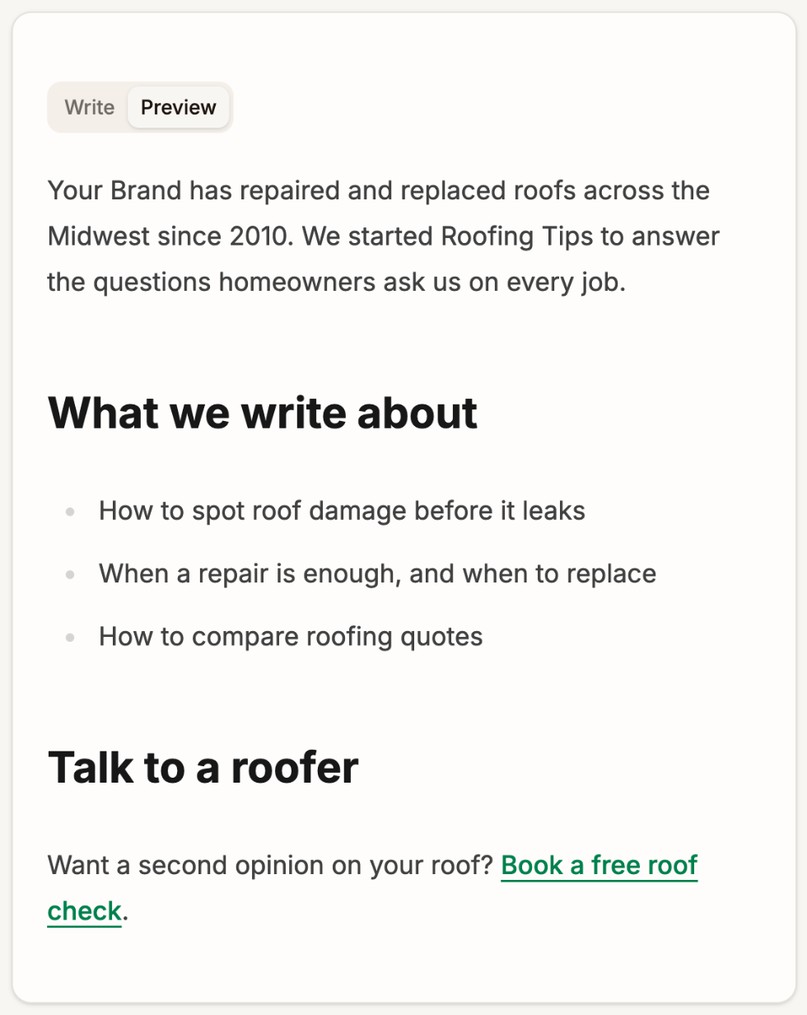
The Preview tab shows the page as readers will see it.
Publishing works the same way as for articles. Click Publish to put the page live, or set a future Publication Date and click Schedule. A live page has Unpublish and Update buttons. See Publish an article.
Add a page
- Go to Blog → Pages and click New Page.
- If you have more than one blog, pick it under Blog.
- Type the title in the Page Title... field, such as
About Us. - Write the page.
- Type a Permalink, such as
/about, or leave it empty to make it from the title. - Click Save Draft, or Publish to put it live.
A custom page lives at your blog domain followed by its permalink, such as blog.yourdomain.com/about. It shows a link back to your home page, the page title and date, the featured image, and your content.
Proferex doesn't add custom pages to your header. To link to one, add it under Navbar Links in your blog settings. See Blog Settings.
Choose a layout
Every custom page has a Layout setting in the editor.
| Layout | Readers see | Use it for |
|---|---|---|
| Standard | A link back to your home page, the page title, date, and blog name, the featured image, then your content | Pages that read like an article, such as About or Contact |
| Blank | A link back to your home page, then only your content | Pages you design yourself, such as a guides hub, a services page, or a landing page |
New pages start as Standard. With Blank, the page title doesn't appear on the page, so start your content with your own heading. The title is still used in the browser tab and in search results.
Permalink rules
A page's permalink is a single word or phrase after the /, such as /about or /contact-us. It can't contain another /.
- Use lowercase letters, numbers, and hyphens. Proferex turns anything else into a hyphen as you type.
- Some addresses are kept for your blog's own pages, such as
/articles,/categories,/authors,/privacy-policy, and/terms-of-service. If you pick one, a message tells you to choose another. - A page can't use the same permalink as another page or an article on the same blog.
Changing the permalink of a published page changes its address. The old address shows a page-not-found error.
The home page
The Home page decides what readers see first. Open it from Blog → Pages and click Edit. It has two extra switches.
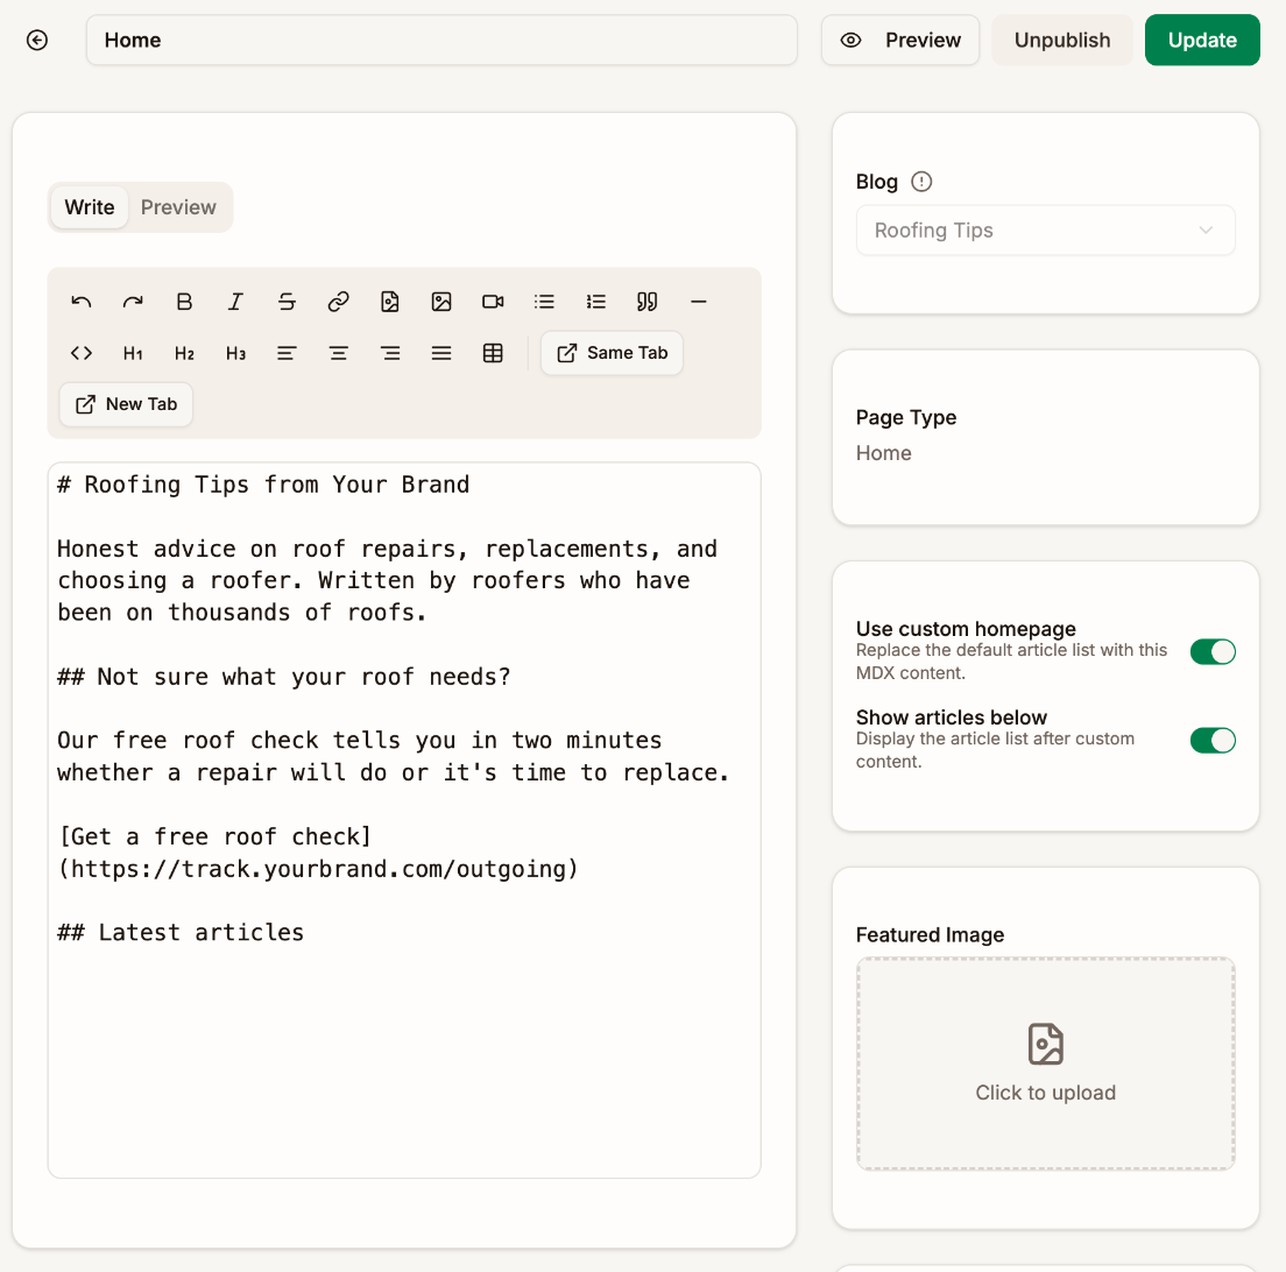
| Use custom homepage | Show articles below | Readers see |
|---|---|---|
| Off | The list of your latest articles, under the blog's Display Title and Description | |
| On | On | The content you write on the Home page, then your latest articles |
| On | Off | Only the content you write on the Home page |
Use a custom homepage to open with a short welcome and a call to action, such as a link to your offer, before the articles.
The Home page's Meta Title and Meta Description are what search engines show for your blog's front page. If you leave them empty, the blog's own settings are used. See Blog Settings.
Privacy Policy and Terms of Service
Every blog starts with an empty Privacy Policy and Terms of Service, both as drafts. Proferex doesn't write them for you, because they depend on your business and where it operates.
- Open Privacy Policy from Blog → Pages and click Edit.
- Write or paste your privacy policy.
- Click Publish.
- Do the same for Terms of Service.
Once a policy page is published, a link to it appears in your blog's footer. Readers who open a policy page that is unpublished or empty see a page-not-found error.
Delete a page
You can only delete custom pages. Home, Privacy Policy, and Terms of Service always stay.
Open the menu on the page's row, click Delete, and confirm. Deleting can't be undone.
You can't delete a page that a lander still uses. Delete the lander, or point it at another page, first.
Make your blog look like your own site
Every blog starts with the same layout: a header, a list of articles, and a footer. Custom pages, a custom homepage, and your navigation turn it into a site that looks like your brand instead of a template.
Open with your own homepage
Turn on Use custom homepage and write the home page like a landing page:
- A headline that says who the site is for and what readers get from it.
- A short paragraph about you or your business, with a photo using Custom Image.
- A clear call to action, such as a link to your offer, a booking page, or your best guide.
- Turn Show articles below on to follow it with your latest articles, or off for a home page that is only your own content.
Add the pages a real site has
Custom pages are for anything that should always be one click away. Pages that work well:
| Page | Permalink | What to put on it |
|---|---|---|
| About | /about | Who you are, why readers should trust you, and a photo |
| Start here | /start-here | Links to your best articles in the order a new reader should read them |
| Services or Work with me | /services | What you offer, who it is for, and how to get started |
| Resources | /resources | The tools, guides, and products you recommend |
| Contact | /contact | How to reach you. Use an email link, since pages can't contain forms. |
For a page you lay out yourself, like a services page with sections and buttons, set its Layout to Blank so it looks like part of your site rather than an article.
Use the editor's toolbar to give each page some shape: headings to break up the text, Custom Image for sized and centered pictures, Video for a YouTube or Vimeo embed, Table for comparisons and price lists, and the alignment buttons for centered headlines. Give each page a Featured Image, so it has a picture at the top and looks right when shared.
Put them in your header and footer
Proferex doesn't add pages to your header automatically, so you decide what readers see first:
- In your blog settings, open Navigation and add a header link for each main page, such as
About→/about. - Group related pages, such as several guides, under one dropdown with Has dropdown submenu.
- Pick the Full footer style and add columns for the rest, such as Company with About and Contact, and Resources with your guides.
See Blog Settings.
Finish the look
In your blog settings, upload a Navbar Logo and a Favicon, and set Primary to your brand color under Theme. With your own homepage, a few custom pages, and your own navigation, readers see your site, not a blog template.
Next step
Group your articles by topic. See Categories.